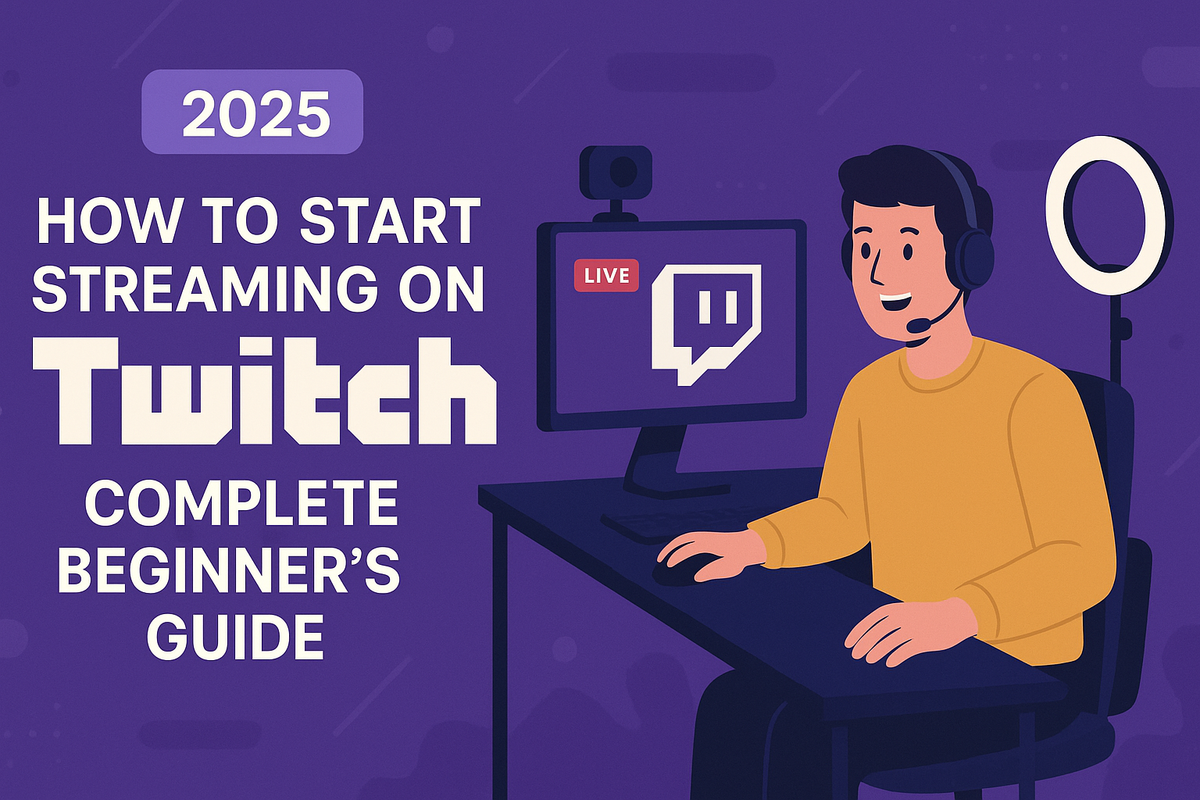
How to Start Streaming on Twitch in 2025: Complete Beginner's Guide
Whether you’re aiming to showcase your gaming skills or just chat about your favorite snacks, you’re in the right place. Starting out can feel overwhelming but we're here to walk you through it, one simple step at a time..

Let’s take a moment to remember the early days of streaming, back when getting a video online felt like wiring a toaster to a potato and praying for the best. If your audio worked, your face cam didn’t. If your game ran smooth, your internet decided it was time for a nap. Somehow, thousands of us soldiered on, powered by dreams and a disturbing number of Red Bulls.
Fast-forward to 2025, and Twitch is still the place to be. Sure, there are new platforms popping up every year promising to “revolutionize live content,” but Twitch is where the action (and the viewers) are.
And if the thought of streaming makes your brain turn into a buffering wheel, relax. This guide is here to walk you through the process with zero jargon, and no judgment. Whether you’re just learning what OBS even stands for, or you’re already dreaming up your first emotes, Streamish has your back.
Let’s get you live 🔴
Understanding Twitch in 2025
What’s Changed?
Twitch isn’t just for sweaty-palmed gamers and speedrunners anymore. In 2025, the platform looks more like a digital city than a gamer’s basement. Sure, you’ll still find plenty of Call of Duty marathons and people yelling at Mario, but you’re just as likely to stumble across someone crocheting tiny hats for cats or running a virtual book club.
Twitch has also leveled up its tools for creators.
Want to stream in portrait mode from your phone? Easy. Need overlays without a computer science degree? Done.
There’s even built-in AI moderation now; so fewer trolls, more good vibes. If you tried streaming a few years ago and bounced off the technical walls, you might be pleasantly surprised by how much smoother the process feels today.
Who Should Stream on Twitch?
Short answer: Anyone with something to share and the patience to talk to themselves for a little while. If you love gaming, music, art, cooking, chatting, or you’ve got a unique hobby you want to show off, there’s a space for you here. You don’t need pro gear, a Hollywood smile, or a massive following to get started. Heck, you don’t even need to know what “PogChamp” means (but you will... oh you will... soon enough).
The Types of Streams
- Games: The classic. Play anything from indie darlings to retro arcade to the latest triple-A blockbusters.
- IRL (In Real Life): Cooking, walking around town, unboxing weird gadgets. If it happens outside a game, it’s fair game.
- Music & Arts: Jamming on guitar, painting, singing, digital sculpting. If you can create it, you can stream it.
- Just Chatting: For when you want to hang out, tell stories, answer questions, or just see where the conversation goes.
- Niche Streams: From ASMR to virtual pet care to competitive spreadsheet formatting (yep, it’s a thing).
Is Twitch Right for You? A Super-Scientific Checklist
- Do you have an internet connection that can stream more than a potato-quality slideshow?
- Can you handle talking to yourself until people find your stream?
- Do you get a tiny spark of joy when someone types “hello” in your chat?
- Are you okay with a little chaos, occasional awkwardness, and a side of weird internet humor?
- Can you promise not to play copyrighted music for your entire stream? (Seriously, don’t do it.)
- Do you want to have fun, learn new things, and maybe, just maybe, build your own community?
If you said “yes” to at least a couple of these, congratulations: Twitch is probably right for you.
Stick around, your streaming adventure is just getting started.
What You Need Before You Hit ‘Go Live’
Alright, let’s talk gear. The good news? You do not need a Hollywood studio or a computer that looks like an Amsterdam rave just to stream. But you will need a few essentials.

The Must-Haves
Computer or Console?
You can stream from a decent PC, Mac, or even a console like PlayStation or Xbox. If your device is so old it shudders when you open a browser tab, streaming might be a stretch. Most modern machines are up for the task, but if your computer’s fan sounds like it’s prepping for liftoff, it might be time for an upgrade.
Internet Speed (No, Your Neighbor’s Wi-Fi Won’t Cut It)
Streaming needs a reliable, high-speed internet connection. Twitch recommends at least 6 Mbps upload speed for a smooth 1080p stream. Run a speed test before you even think about going live, don’t make your debut with a stream that freezes more than a 2000s flash game.
Webcam: Basic, Budget, and “I Want People to See My Pores” Options
You do not need a fancy camera. Plenty of streamers start with a basic 720p webcam. If you want to up your game, there are budget-friendly 1080p webcams everywhere. For those who want to capture every freckle, you can get a mirrorless camera setup, but start small and upgrade later if you catch the bug.
Microphone: Do You Really Need an Expensive One?
Audio matters more than you think. A scratchy built-in mic can make even the most exciting stream sound like a walkie-talkie from the moon. USB mics like the Blue Yeti or HyperX SoloCast work great, and there are options at every price point. Don’t stress about studio gear unless you’re streaming to an audience of audio engineers.
Lighting, Background, and the “No Pile of Laundry” Rule
Even the best webcam won’t save you from streaming in the dark. A $20 ring light will make you look way more professional. Natural light works too, just don’t sit with your window behind you unless you’re going for the witness protection look. As for your background: you don’t need a Pinterest-worthy studio, but at least move the laundry pile out of frame. Trust me, people notice.
The Nice-to-Haves
Stream Deck:
A gadget with customizable buttons that lets you switch scenes, play sounds, or drop memes with a tap. It’s like having a tiny producer sitting on your desk.
Green Screen:
If you want to transport yourself to outer space or just hide your messy room, green screens make your background disappear. Not required, but fun if you want to play around.
Second Monitor:
Not required, but it’ll make your life easier. You can play your game on one screen and manage chat or alerts on the other, without alt-tabbing like a maniac.
Fancy Overlays:
Custom graphics, alerts, and overlays can give your stream a pro vibe. There are free options, but paid ones let you flex a little more personality. Don’t worry about this stuff at first, focus on actually hitting “Go Live.”
Bottom line: Start with what you have, upgrade as you go, and remember, the audience is there for you, not your 4K background blur.
Setting Up Your Twitch Account
Alright, you’ve got your gear, your caffeine, and a dream. Now let’s set up your Twitch account, the online home for all your soon-to-be-legendary streams.
Signing Up (Don’t Use Your 2006 MySpace Name)
First step: create your Twitch account. Click the Sign Up button that's pasted all over twitch.tv. Impossible to miss.

Think carefully about your username. It’s tempting to use that old internet handle you came up with in high school (“xXx_DragonSlayer420_xXx,” anyone?), but you’re going to want something a little easier for people to remember, spell, and say out loud. Ideally, pick a name that matches your brand or personality, one you won’t cringe at in six months.
Enabling 2-Factor Authentication (Its quick, easy, and will save you in the long run.)
Security matters, even when you’re starting out. Twitch requires two-factor authentication (2FA) for anyone who wants to stream. That’s a good thing, protect your account from hackers, trolls, and anyone who thinks your five viewers are prime real estate. Just follow Twitch’s setup prompts and connect your phone number. Now you’re secure and ready for action.
Filling Out Your Profile: Bio, Avatar, Banners
Before you even think about going live, fill out your profile. This is your chance to make a first impression and let viewers know what you’re about.
- Bio: Short, sweet, and honest. Who are you? What do you stream? Got a weird talent? Brag a little!
- Avatar: Upload a photo or logo. It doesn’t have to be a pro headshot, just something other than the default silhouette.
- Banner: A banner is like your stream’s welcome mat. Even a simple design or your favorite color is better than the default purple.
Setting Your Stream Tags and Categories
Tags and categories help people find your stream. Think of them as search terms, be specific!
- Category: Are you gaming? IRL chatting? Cooking with an Easy-Bake Oven? Set the right category before you go live.
- Tags: Add tags that describe your content, like “English,” “Chill,” “Beginner,” or the game you’re playing. Tags help you reach people who are actually interested in what you’re doing (and maybe a few who just wandered in by accident).
That’s it! You’re officially on Twitch. Your profile is looking sharp, your account is safe, and your stream is just one click away from the spotlight.
Installing & Configuring Streaming Software
Alright, here comes the part where most beginners start sweating: streaming software. But don’t worry, you don’t need to be a NASA engineer. Just follow along, and you’ll have your stream up faster than you can say “dropped frames.”
OBS Studio vs. Streamlabs vs. Everything Else: Which One Is for You?
You’ve got options:
- OBS Studio: The original, open-source powerhouse. Super customizable, works with everything, but has a bit of a learning curve. Like driving stick shift, you’ll feel cool, but you might stall a few times.
- Streamlabs: A more user-friendly, all-in-one version of OBS. Great for beginners, with lots of built-in widgets, overlays, and templates. Just watch out for the occasional ad for premium features (you can ignore them).
- There's more with their own pros and cons, but this is a post for noobs. Lets keep it simple.
If you want max control and don’t mind some tinkering, go OBS Studio. Want simple and quick? Streamlabs will get you there.
Step-by-Step Setup
- Download & Install:
- Head to the official site for your chosen software (never download from anywhere sketchy).
- Follow the install instructions, don’t overthink it.
- Connect to Twitch:
- In OBS or Streamlabs, just log in with your Twitch account or paste in your stream key (found in your Twitch dashboard).
- Set Your Stream Settings:
- Pick your resolution (start with 720p or 1080p) and frame rate (30 or 60 FPS is fine).
- Set your bitrate (Twitch recommends 4,500–6,000 kbps for 1080p).
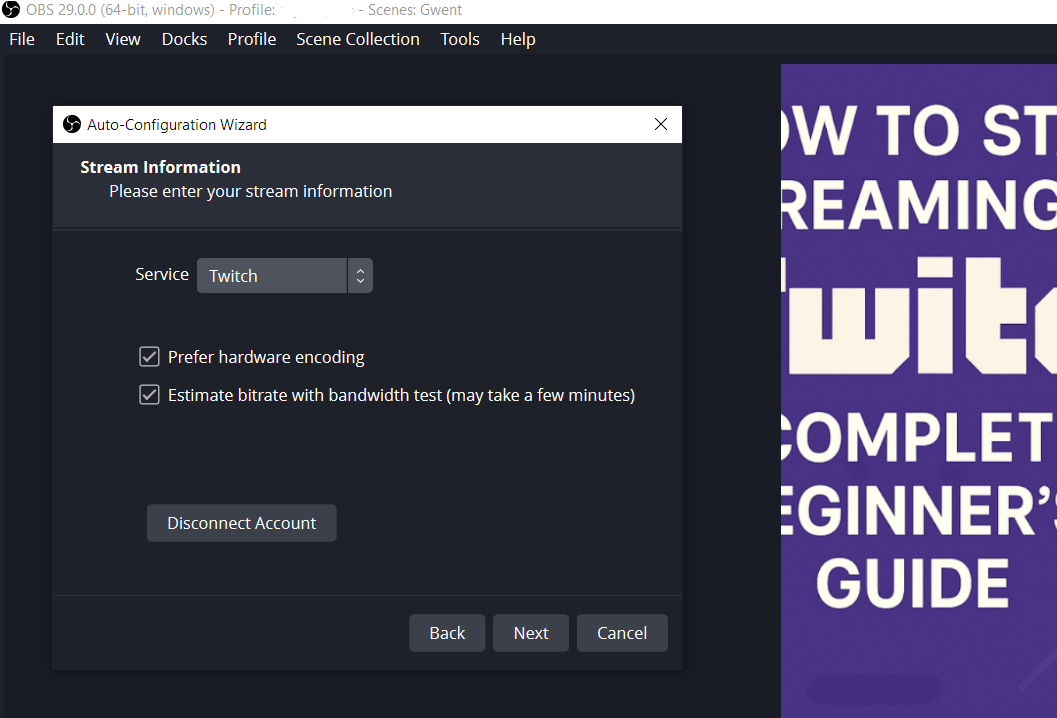
If that all sounds like robot talk, use the software’s auto-setup wizard, they both have one.
Adding Your Camera, Game, and Overlays
Now the fun part, setting up your scenes:
- Add a Game Capture Source:
- This is what broadcasts your game window or app. Select “Game Capture” and point it to your game.
- Add Your Webcam:
- Choose “Video Capture Device,” and select your webcam. Resize and drag it where you want on the screen.
- Add Overlays/Alerts:
- Want follower alerts or fancy graphics? Streamlabs makes it super easy, and you can find tons of free overlays online for OBS. Don’t get lost in the options, start simple!
Testing Your Setup (Talking to Yourself Is Normal, Promise)
Before you go live for the world, run a few test streams. You can stream privately or record locally. Check your audio, make sure your camera isn’t showing your ceiling fan, and try switching scenes. It’s totally normal to talk to yourself while you test, everyone does it.
And if you hit a snag, Google is your friend. Every streamer has searched “why is my mic echoing?” at least once.
Give yourself a pat on the back. You just tackled the techiest part of streaming, now it’s almost showtime.
Going Live for the First Time
So, you’ve got your gear, your stream looks less like a security cam, and your overlays are set. It’s time to hit that “Go Live” button and officially join the chaos. Let’s walk through your first broadcast so you can avoid the classic rookie mistakes.
How to Title Your Stream (and Why “Come Chill” Isn’t Enough)
Your stream title is the first thing people see. “Come chill” or “Hanging out” doesn’t cut it, unless your goal is to blend into the background noise. Be specific, be fun, and give viewers a reason to click.
Try things like:
- “Trying to Beat Elden Ring Without Crying”
- “Beginner Artist Drawing Live - Taking Suggestions!”
- “Late-Night Q&A: Ask Me Anything Except My Bank Balance”
A little personality goes a long way.
Setting Up Your Stream Info Before Going Live
Before you click “Go Live,” set your stream category (the game or activity), add relevant tags, and double-check your stream info. Make sure your mic isn’t muted unless you’re going for a modern art piece called “Silent Stream.” This is your digital handshake with the world, make it count.
The “First Stream” Checklist
Let’s keep it simple:
- Mic works? (Say something awkward to check)
- Camera aimed somewhere other than your ceiling fan?
- Game or activity window set up?
- Stream title, category, and tags filled out?
- Alerts and overlays turned on?
- Internet speed holding up?
- Snack and water nearby (hydration matters, people!)
What to Do if Something Breaks (It Will)
Something will go wrong. Maybe your audio cuts out, your webcam freezes, or your game crashes right as someone finally joins. Don’t panic. Laugh it off, troubleshoot live if you can, and don’t be afraid to restart your stream. Tech problems happen to everyone, from newbies to pros. Roll with it.
How to Interact with Chat Without Sounding Like a Robot
When someone finally types in your chat, don’t freeze up! Be yourself, talk like you’re chatting with a friend, not like you’re delivering a book report. If no one’s talking yet, narrate what you’re doing or tell a silly story. Respond to usernames, ask questions, and don’t take silence personally. Most streams start quiet; it gets easier with practice.
There you go! Your first stream probably won’t be perfect, and that’s half the fun. The only real mistake is never hitting “Go Live” at all.
Basic Stream Etiquette and Safety
Once you go live, you’re not just putting on a show, you’re also running your own little corner of the internet. That means you need to know how to keep things friendly, fun, and above all, safe. Here’s how to avoid rookie mistakes and keep your stream out of trouble.
How to Moderate Your Chat (Bots, Mods, and Not Feeding Trolls)
Your chat is your community, and trust me, it’s way more fun when it isn’t a total dumpster fire.
- Bots: Set up a moderation bot (like Moobot or Nightbot). They auto-delete spam, ban naughty words, and keep trolls from ruining the mood while you’re busy gaming or making pancake art.
- Mods: As you grow, ask a friend or loyal viewer to help as a moderator. Mods can ban, mute, and generally keep things chill when you’re too busy failing a boss fight to notice.
- Don’t Feed the Trolls: Someone will eventually drop in just to stir up trouble. Don’t engage... ban, mute, or ignore. Your real fans want good vibes, not drama.
Basic Copyright Do’s and Don’ts (No, You Can’t Play The Beatles)
Twitch isn’t the Wild West. You can’t just play any music or video and hope no one notices.
- Music: Use copyright-free tracks, Twitch’s Soundtrack library, or services like Pretzel Rocks. Seriously, don’t play mainstream songs unless you like sudden silence and takedown notices.
- Games: Most games are fine to stream, but some (especially with a lot of licensed music) can get you flagged. Check a game’s streaming policy if you’re unsure.
Staying Safe Online: What Not to Share
You’re awesome, but you don’t need to give the internet your full autobiography.
- Never share your real address, phone number, or anything that can personally identify you.
- Be careful about showing things like mail, location, or your school/work info on camera.
- If someone gets too personal in chat, set boundaries or boot them. Your safety comes first, always!
Twitch Rules You Actually Need to Know
- No hate speech, harassment, or threats. Obvious, but worth repeating.
- No nudity or sexually explicit content. If you wouldn’t show it to your grandma, keep it off-stream.
- Respect DMCA/copyright laws. See above about The Beatles.
- Follow the age guidelines. Twitch is 13+, and you have to mark your stream if it’s intended for mature audiences.
- Be honest. No scamming, cheating, or impersonating other people.
Stick to these basics and you’ll build a community people want to come back to (and you’ll sleep easier, too).
Growing Your Audience
Alright, you’ve survived your first few streams and you’re ready for more than just your best friend and a lost bot watching. Growing an audience on Twitch can feel like shouting into the void at first, but with a little strategy (and a lot of patience), you’ll find your people.
Why Consistency Beats Everything
You don’t have to stream every day, but showing up regularly is the single best way to build a following. Viewers are creatures of habit, if they know you’re live every Tuesday and Thursday at 8pm, they’re way more likely to stop by. Treat your stream schedule like a favorite TV show: if you’re always “maybe live, maybe not,” you’ll end up with the same size audience as a TV test pattern.
Using Social Media Without Becoming Annoying
Yes, you need to promote your stream. No, you don’t need to spam your friends until they block you.
- Pick one or two platforms you actually like (Twitter/X, Instagram, TikTok, or even Discord).
- Post when you’re going live, share behind-the-scenes clips, or drop a highlight reel of your best moments.
- Be yourself, if you hate making TikToks, your viewers will feel it. If you love posting memes on X, do that.
- The golden rule: don’t only post “I’m live!” links. Share your personality, not just your stream URL.
Collaborating and Raiding Other Streamers
Streaming doesn’t have to be a solo act.
- Collaborate: Play games with other streamers, join community nights, or just chat together on stream. You’ll both grow your audiences, and probably have more fun.
- Raiding: When your stream ends, you can “raid” (send your viewers) to another live streamer. It’s a great way to network, make friends, and help smaller creators.
Just remember, don’t treat every interaction like a business card exchange. Support streams you actually enjoy, not just for the numbers.
How to Get Your First Followers Without Begging
We’ve all seen that one desperate “follow for follow?” message. Don’t be that person.
- Greet every viewer by name, ask questions, and make people feel welcome.
- Show up for your own stream. The more you stream, the more chances new viewers have to discover you.
- Get involved in other communities, without self-promo. Be genuine, and people will naturally get curious.
- Celebrate every milestone, even the tiny ones. Those first 10 followers are tougher than the next 100.
Your first viewers might trickle in slowly, but every big streamer started out exactly where you are: talking to an empty chat. Keep showing up, keep improving, and don’t be afraid to have fun along the way. The audience will come.
Frequently Asked Questions (From Real Beginners found around the web)
Every new streamer has the same questions, sometimes more than once. Don’t worry, you’re not alone! Here are the answers to the things almost everyone wonders when they’re starting out (plus a couple you didn’t even know to ask).
“Do I need a facecam?”
Nope. Plenty of successful streamers go camera-free, especially for radio-style, art, or gameplay-focused streams. That said, having a facecam can help viewers connect with you. If you’re not comfortable, don’t sweat it. Start how you want, if you decide to add a camera later, great!
“How do I get more viewers?”
The big question. The honest answer: Consistency, good content, and patience. Make your stream fun to watch, show up regularly, and interact with chat, even when it’s just you and your houseplant. Try new games, network with other streamers, and don’t be afraid to share highlights on social media.
“Can I stream from my phone?”
Yes! Twitch’s mobile app lets you stream IRL, art, or even just chat sessions directly from your phone. It’s perfect for low-pressure streams or when you don’t have access to a full setup. Just check your data plan before you start a three-hour outdoor Q&A.
“What if I mess up?”
You will mess up. The stream might crash, your cat might walk across the keyboard, or you’ll forget your mic is muted for ten minutes. Laugh it off, let your viewers in on the joke, and move on. People come to Twitch for realness, not perfection.
“Should I quit my job for Twitch?” (Spoiler: No)
Short answer: Absolutely not, at least not at first. Building a steady, sustainable income on Twitch takes time, think “marathon,” not “sprint.” Keep your day job, stream for fun, and see where things go. If you hit partner and money starts rolling in, you can revisit the question.
“What should I do if nobody shows up?”
Keep streaming! Talk through your gameplay, narrate what you’re doing, or just practice chatting. Lurkers are real, many people watch without saying a word. Every minute you spend live is a chance for someone to stumble in.
“Is it okay to take breaks?”
Absolutely. Burnout is real, and your community will understand. Let people know when you’re taking a break, but don’t feel guilty about it. Streaming should be fun, not a chore.
“How do I deal with rude viewers or trolls?”
Ban them, mute them, or let your mods handle it. Don’t take it personally, every streamer gets a few. Focus on the folks who are there for a good time.
“Do I need fancy gear to start?”
Nope. Your phone, a headset mic, and a free streaming app are enough to get started. Upgrade gear only if you catch the bug and want to keep going.
“Can I stream if I’m shy or awkward?”
One hundred percent yes. Most streamers start out nervous and find their groove over time. You’ll be surprised how much easier it gets after a few streams. Remember: everyone was new once.
If you’ve got more questions, you’re in the right place. Streamish is all about helping you learn as you go. Feel free to ask!
Here’s the truth: every streamer you admire was awkward at first. Nobody starts out with perfect audio, flawless overlays, or a packed chat. Some of the best moments on Twitch come from those early, messy streams, where your alerts don’t work, your cat jumps on your keyboard, and you accidentally call your only viewer “Mom.”
The only way to get better is to start, learn, and laugh along the way. Don’t wait until everything’s “perfect”, it never is. Hit “Go Live,” see what happens, and tweak things as you go.
Every stream is progress, even if it feels rough at first.